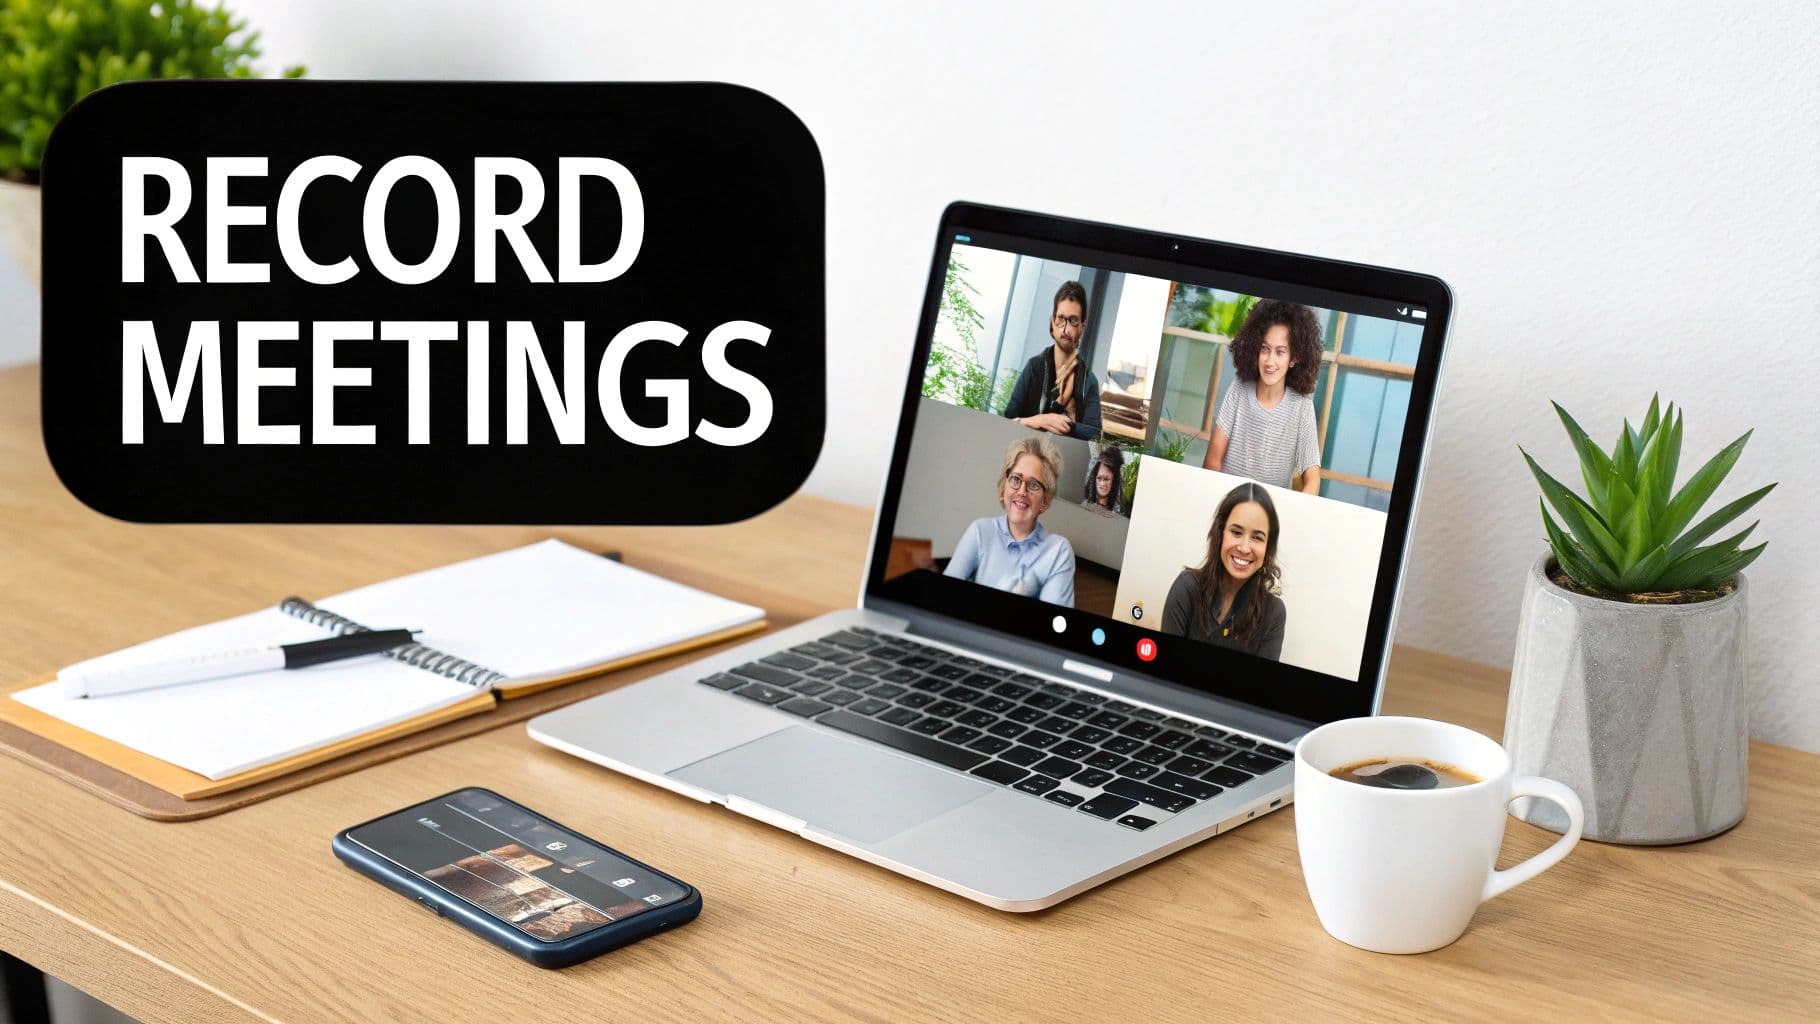
Recording a Webex meeting is pretty simple once you know where to look. If you're the host or cohost, you just need to hit the Record button right in your meeting controls. This captures the whole shebang—video, audio, and any screens you share—which is a lifesaver for anyone who couldn't make it live or just needs a refresher.
Why Recording Your Webex Meetings Is a Smart Move
Before we get into the "how," let's talk about the "why." In our world of scattered teams and flexible schedules, a meeting recording is so much more than a video file. It's a searchable, permanent record that keeps everyone on the same page.
Think of it as your team’s shared memory. That project kickoff where critical decisions were made? Now you have an indisputable source of truth, far more reliable than someone’s scribbled notes. It’s also a huge help for teammates in different time zones who can catch up on a morning stand-up without missing a beat. It’s a modern, dynamic alternative to traditional documentation, though you can still explore the benefits of meeting minutes to see how they can work together.
Boosting Accountability and Training
Recordings are also fantastic for accountability. When you have a video of someone agreeing to a deadline or taking on a task, there's no room for "I don't remember saying that." It keeps projects moving and ensures everyone is clear on their responsibilities.
But the value doesn't stop at project management. These recordings are goldmines for training. Imagine being able to show a new sales hire a recording of your team's best-ever client demo. Or turning a tricky technical support call into a go-to resource for the whole team. It’s practical, real-world training that you can’t get from a manual.
The good news is that Webex is built for this. With 650 million monthly meeting participants, they've had to make the recording process intuitive. For the 46% of professionals who attend three or more meetings a day, being able to easily record and share becomes less of a nice-to-have and more of a necessity.
Choosing Between Cloud and Local Recording
When you hit 'Record' in a Webex meeting, you're immediately faced with a choice: save it to the cloud or save it locally to your computer. This isn't just a technical detail—it completely changes how you can use the recording later on. Think of it as the difference between getting a shareable link versus getting an actual video file.
Cloud recording is all about speed and convenience. The moment your meeting ends, Webex gets to work processing the file and hosting it on your account. Before you know it, you have a simple link you can email, drop in a Slack channel, or share with anyone, anywhere. No downloads, no big files clogging up your hard drive.
Local recording, on the other hand, gives you the raw MP4 file. This is your go-to when you need full control. If you're planning to snip out a few sections in a video editor, archive the meeting on your company's internal server for compliance, or just keep a personal copy, this is the way to go.
To make the choice crystal clear, here's a quick breakdown of how these two options stack up.
Cloud vs Local Webex Recording At a Glance
This table offers a direct comparison to help you decide which recording type best fits your immediate needs.
| Feature | Cloud Recording | Local Recording (MP4) |
|---|---|---|
| Primary Use Case | Quick sharing, team collaboration, easy access | Video editing, long-term archival, offline access |
| Storage Location | Your Webex account (online) | Your computer's hard drive |
| Sharing Method | Shareable link | Transfer the actual MP4 file |
| Key Features | Automatic transcripts, searchable content, playback speed controls, viewable on mobile | Full ownership of the file, highest possible quality for editing |
| Internet Required | Needed for uploading and viewing | Only needed to record the meeting, not to save the file |
| Best For | Team updates, client demos, remote training sessions | Interviews for podcasts, marketing content, compliance-driven archiving |
Ultimately, both methods get the job done, but they're built for different workflows.
When to Use Cloud Recording
Think of cloud recording as your default for most day-to-day meetings. It’s perfect for situations where the goal is to get information out quickly and easily.
Here are a few real-world examples where cloud recording shines:
- Team Catch-Ups: A team member in a different time zone can watch the morning stand-up just a few hours after it happened, all from a simple link.
- Client Demos: Instantly send the recording of a product demo to your client. They can review it and share it with their team without any friction.
- Training Sessions: Post a link to a company-wide training session, allowing everyone to watch it on their own time without having to download a massive video file.
One of the biggest wins for cloud recording is the extra features that come with it, like automatic transcription. Having a searchable text version of your meeting makes it incredibly simple to jump to the exact moment a key decision was made.
When Local Recording Is the Better Choice
Local recording is all about ownership and control. When you absolutely need the video file itself for editing, compliance, or offline storage, this is your only option.
Here are a few scenarios where you'd definitely want to record locally:
- Content Creation: If you’re recording an interview for a podcast or a presentation that will become a marketing video, you'll need that MP4 file to pull into your editing software.
- Offline Archival: Some industries have strict rules that require meetings to be stored on secure, internal servers—not in a third-party cloud.
- Spotty Internet Connection: If your upload speed is unreliable, a local recording is a lifesaver. It saves the file directly to your machine, so you don't have to worry about a failed upload corrupting your recording.
While Webex has a fantastic built-in recorder, it’s always smart to know what else is out there. For a broader look at tools with different features, our guide to the best meeting recording software options for 2025 provides a great overview of the landscape.
In the end, it really boils down to a simple question: Do you need a link, or do you need a file? Answering that will point you in the right direction every time.
Alright, let's get into the nitty-gritty of actually recording your Webex meeting. Once you understand the difference between cloud and local recordings, the process itself is pretty simple. The main thing to remember is where to find that record button, as it shifts slightly depending on whether you're on a computer or your phone.
Before we dive in, here’s the golden rule: you must be the host or a cohost to start a recording. If you’re looking for the record button and can’t find it, nine times out of ten, it’s a permissions issue.
Recording on the Webex Desktop App
Most of us use the desktop app on a Windows or Mac computer. It’s the most stable and feature-rich way to use Webex.
Once your meeting is live, just glance down at the control bar at the bottom of your screen. You'll see a round Record button, usually sitting right between "Share" and "Apps."
Click it, and a small window pops up giving you a choice: "In the cloud" or "On my computer." Pick where you want it to go and hit Record again. A red dot and the word "Recording" will instantly appear in the top-left corner, so everyone knows the session is being captured.
While you're recording, you have two options:
- Pause: Clicking the red button again lets you pause. This is perfect if you need a quick break and don't want to split the recording into multiple files.
- Stop: Hitting the Stop button ends the recording for good. If you decide to record again later in the same meeting, Webex will create a brand new file.
This ease of use is a big part of why Webex keeps getting better. The platform’s System Usability Scale (SUS) score jumped to 72 in 2025 from 68 in 2022, reflecting a much smoother experience for essential tasks like this, especially since 86% of meetings now have remote participants. You can dig deeper into trends like this in this analysis of video conferencing statistics.
Recording from a Web Browser
Hopping into a Webex meeting from a browser is a fantastic fallback if you don't have the desktop app handy. The good news is that the experience feels almost identical, which is great for consistency.
The steps are exactly the same. Find the Record button on the bottom control bar, click it, and choose whether to save it to the cloud or your local drive. Once you make your choice, the recording starts, and the little red "Recording" indicator shows up for everyone to see. Pausing and stopping work just like they do on the desktop app.
Recording on the Webex Mobile App
Need to record a meeting while you’re out and about? The Webex mobile app for iOS and Android lets you do just that, but there's one key difference: you can only record to the cloud. You won’t have the option to save a recording directly to your phone.
Here’s how to kick it off on mobile:
- Tap your screen to make the meeting controls appear.
- Tap the More options button, which looks like three little dots.
- From the menu that slides up, just select Record.
A small red dot will pop up at the top of your screen to let you know the recording has started. It’s a bit more subtle than the desktop version, but it’s there. This feature is a lifesaver for capturing audio from important calls on the go. If you're curious about other ways to capture audio, our complete guide on how to record a meeting with audio has some great tips.
To pause or stop, just repeat the process. Tap the three-dot menu again, and you’ll see the options to Pause Recording or Stop Recording. After you stop it, the file will process in the Webex cloud, and you'll get an email with a link as soon as it's ready to view.
Customizing Your Webex Recording Settings
Knowing where the record button is in Webex is one thing. But truly mastering the settings is what transforms a basic recording into a polished, professional resource. Before you jump into your next meeting, it’s worth taking a couple of minutes to tweak the layout and audio options. This little bit of prep gives you total control over the final video, making sure the important stuff gets the spotlight.
Your first major decision is the recording layout. This choice dictates what everyone sees and can completely change the vibe of the recording.
- Grid View: Ever wanted that "Brady Bunch" look? This is it. Grid view displays up to 25 participants at once, making it ideal for collaborative workshops or team huddles where you want to capture everyone's reactions and body language.
- Active Speaker and Thumbnail View: This is probably the most common layout you'll see. It puts the current speaker front and center while keeping a few other participants visible in small thumbnails. It’s a great middle ground for presentations or panels where a few people do most of the talking.
- Active Speaker View: If you want zero distractions, this is your go-to. It dedicates the entire screen to whoever is speaking. Think of it for formal lectures, keynote speeches, or any time one person is the sole focus.
- Content-Sharing View: When someone starts a screen share, this view automatically prioritizes that content. The speaker's video shrinks to a small window, keeping the focus on the slides, demo, or document being shown. It's essential for any kind of training or presentation.
Fine-Tuning Audio and Transcripts
Crystal-clear audio can make or break a recording. Webex does a good job of capturing everyone's audio, but echo and background noise are the usual culprits that can ruin the experience. You can't selectively mute people in the finished recording, so the best defense is a good offense—encourage everyone to wear headphones from the start. Getting a handle on how to eliminate echo from your audio recordings is a skill that pays dividends well beyond just Webex meetings.
If you’re recording to the cloud, don't sleep on the automatic transcription feature. Toggling this on before you start means Webex will create a time-stamped, searchable script of the entire conversation. This is a game-changer for viewers who need to find a specific mention or jump straight to a key decision point without scrubbing through the whole video.

As you can see, the core process is simple. But the real power comes from dialing in the settings to fit your specific needs.
These thoughtful features are a big reason Webex has been making a comeback. With 52% of remote leaders spending over three hours a day in meetings, the demand for useful recordings is huge. Features like AI-powered summaries and customizable layouts are no longer just nice-to-haves; 95% of users now see them as essential for productivity. By taking the time to tailor these settings, you're not just archiving a call—you're creating a truly useful tool.
Finding and Sharing Your Webex Recordings
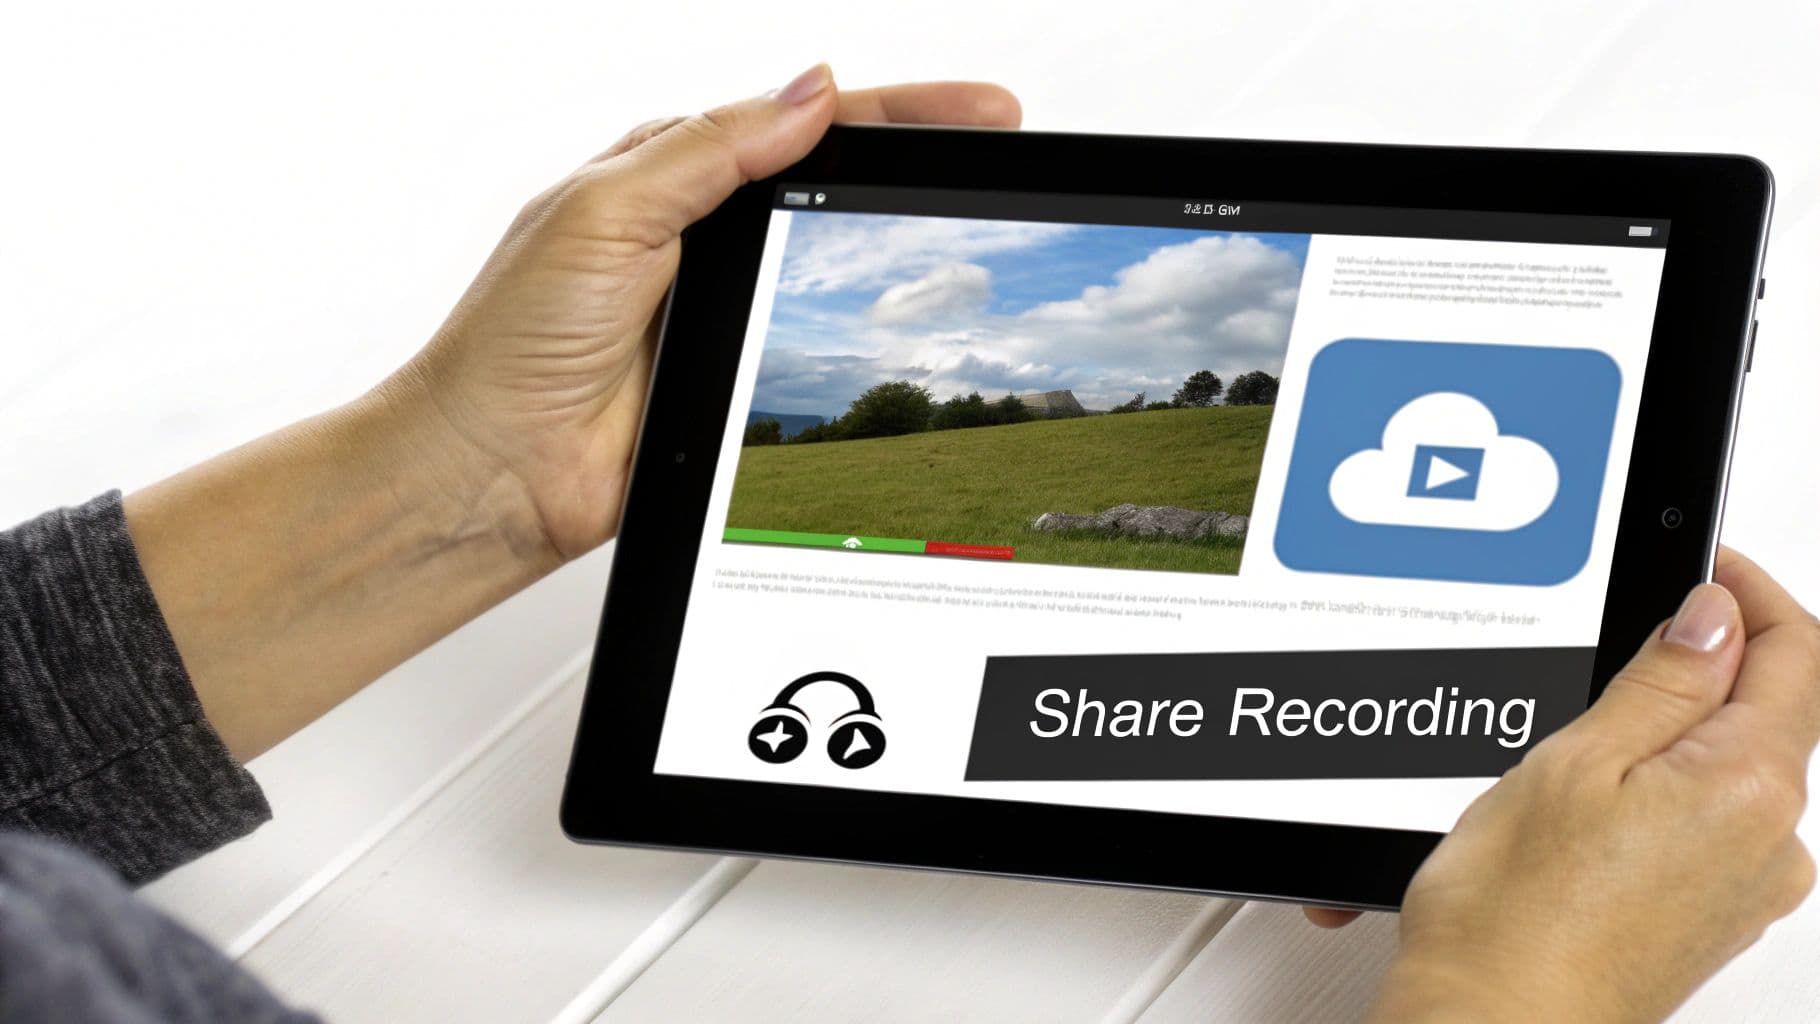
Alright, you've finished the meeting and the recording is saved. Now what? Getting that video to the right people is the whole point, and how you do that depends entirely on where you stored it: in the cloud or on your computer.
If you used cloud recording, Webex does most of the work for you. Once the video has finished processing, you'll get an email with a direct link. That's often the quickest way to share—just forward the email.
You can also find all your cloud recordings by logging into your Webex site and clicking the Recordings tab. Think of this as your personal library for every meeting you've saved to the cloud.
Accessing and Sharing Cloud Recordings
When you head to your Recordings page in Webex, you'll see a neat list of all your past meetings. Clicking on a recording takes you to its dedicated playback page, which is more than just a simple video player.
From here, you can share the recording by hitting the Share button. This gives you a link to copy and paste. But before you send it off, take a look at the security settings. You have some great options for protecting your content:
- Set a password: This is a must for sensitive discussions. Only people with the link and the password can watch.
- Require a login: Restrict access to people within your organization who have a Webex account.
- Prevent downloads: If you want people to stream the video but not save a copy, you can turn off the download option.
These features give you granular control, which is incredibly useful when dealing with confidential client meetings or internal strategy sessions.
Managing Local MP4 Files
If you recorded locally, things are a bit more hands-on. The MP4 file is saved directly on your computer, typically in a "Webex" folder inside your Documents. You can always change this default location in the desktop app's settings if you have a preferred spot.
With the raw file in hand, sharing is all on you. You can upload it to your company's shared drive, use a cloud storage service like Google Drive or Dropbox, or even attach it to an email if the file is small enough. Just be sure to name your files something clear and descriptive—"Project_Alpha_Kickoff_Oct26.mp4" is a lot better than "Webex_Meeting_1.mp4."
Once you have the MP4, you might also want a written version of the conversation. Knowing how to transcribe an audio file is a great skill for turning those video files into searchable documents or accessible blog posts.
Got Questions About Webex Recordings? We’ve Got Answers.
Even the most straightforward process can throw a curveball. When you're trying to record a Webex meeting, a few common issues tend to pop up again and again. Here are the quick answers to the questions we hear most often, so you can solve the problem and get back to your meeting.
Why Can’t I See the Record Button?
This is easily the most common hiccup. Nine times out of ten, if the record button is missing, it’s a simple permissions issue. In any Webex meeting, only the host or a designated cohost has the power to start a recording.
If you’re a participant and need to record, the fix is easy: just ask the host. A quick chat message asking them to make you a cohost will usually do the trick.
In rarer cases, the restriction might be coming from higher up. Your company's Webex site administrator can disable recording for certain user types or meeting formats. If you are the host and still don't see the button, it's probably time to check in with your IT department.
Can I Record a Webex Meeting Without Anyone Knowing?
The short answer is a hard no. Webex is built for transparency. The second a recording starts, every single person in the meeting gets a very obvious visual indicator and often an audio announcement like, "This meeting is being recorded."
This is intentional. It’s designed to ensure everyone is aware and has consented to being recorded, which is crucial for privacy compliance (think GDPR) and just basic meeting etiquette. There’s no way to sneakily record a session; the platform simply won’t let you.
How Long Does It Take for My Cloud Recording to Be Ready?
Patience is key here, but you usually won't have to wait too long. The processing time for a cloud recording really depends on how long and complex the meeting was.


