Learning how to hit the record button in Webex does more than just capture a conversation; it turns a fleeting moment into a lasting asset. Think of it as creating a permanent record for compliance, a life-saver for teammates who couldn't make it, or even the raw material for your next great training session.
Why You Should Be Recording Your Webex Meetings
Recording your meetings is a small habit with a massive payoff. It creates an accessible, searchable history, making sure that critical decisions and conversations don't just vanish into thin air. For any team that needs to keep records for compliance or project management, this isn't just nice—it's essential.
Imagine a new team member starting a project six weeks in. Instead of scheduling another kickoff to bring them up to speed, you can just send them the recording. Or, a tough client call can become a masterclass for your sales team, showing exactly how to handle tricky objections in the real world.
Building a Knowledge Library
Every meeting you record adds another book to your company's internal library. You're essentially building your own private, on-demand training center.
- Onboarding New Hires: Forget repeating the same introductory sessions over and over. Hand new employees a playlist of key meetings to get them acquainted with projects, processes, and team culture.
- Capturing Key Decisions: A recording is undeniable proof of what was discussed and agreed upon. It clears up confusion about action items and prevents those "I thought you meant..." moments later. When you combine this with our guide on how to take better meeting notes, you create a nearly foolproof system of record.
With around 650 million participants joining meetings every month, Webex is a huge part of how modern teams get work done. These video conferencing statistics really put the scale of its use into perspective.
Setting Up for a Perfect Webex Recording
A great recording doesn’t just happen when you hit the red button—it starts with a little prep work. Before you do anything else, you need to make sure you actually have the power to record.
In Webex, only a host or a co-host can start a recording. If you’re not in charge of the meeting, you’ll have to ask the host to bump you up to co-host status before things get underway. Simple as that.
If you are the host and still don't see the record button, it's probably an account-level setting. Your site administrator controls who can and can't record, so a quick message to your IT team or Webex admin is usually all it takes to get it sorted out.
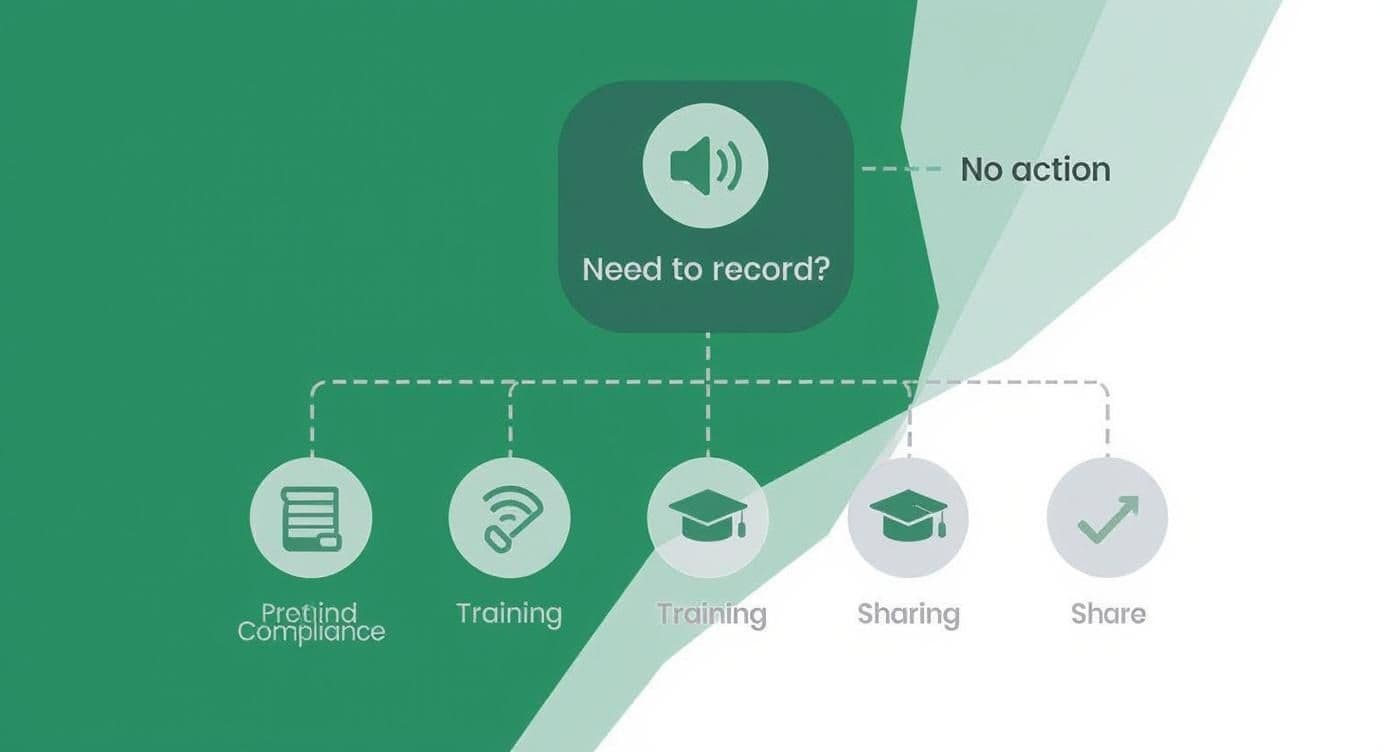
This infographic breaks down some of the most common reasons teams hit record in the first place, from creating a training library to just keeping everyone in the loop.

As you can see, it's all about making information last. Whether it's for compliance, training new hires, or sharing an important update with folks who couldn't make it, a recording is your best friend.
Cloud vs. Local: Where Should You Save Your Recording?
One of the first big decisions you'll make is where to save your meeting file. Webex gives you two solid options, and the right choice really depends on what you plan to do with the recording after the meeting ends.
I’ve put together a quick table to help you decide at a glance.
Cloud vs Local Webex Recording At a Glance
| Feature | Cloud Recording | Local Recording |
|---|---|---|
| Best For | Easy sharing, quick access, and feature-rich playback. | Offline editing, long-term archival on your own servers. |
| File Format | Streamable link on your Webex site, with a downloadable MP4. | A single MP4 file saved directly to your computer. |
| Key Features | Includes transcripts, chat, participant list, and highlights. | Basic video and audio only. |
| Sharing Method | Send a simple link. No large file transfers needed. | You have to upload and send the large MP4 file yourself. |
| Storage | Counts against your organization's Webex storage quota. | Limited only by your computer's hard drive space. |
| Accessibility | Anyone with the link can watch from any device. | Requires the file to be downloaded or hosted somewhere else. |
For most people, most of the time, cloud recording is the way to go. It’s faster, gives you more useful information like transcripts, and sharing is a breeze.
How to Record a Webex Meeting Step by Step
Alright, now that your settings are configured, you're ready for the main event. Getting the hang of recording a Webex meeting is actually pretty simple once you know where to look. Let's walk through starting, managing, and stopping your recording so it becomes second nature.
Everything starts with the Record button. You'll usually find it in the control bar at the bottom of your meeting window. When you click it, Webex will ask where you want to save the file: to the cloud or right onto your computer. As we covered earlier, the cloud is almost always the better option for easy sharing and getting those handy automatic transcripts.
Once you pick your destination and hit Record again, you're officially live.
Starting and Managing Your Recording
As soon as the recording starts, you'll spot a red recording indicator somewhere at the top of your screen. It’s usually a blinking dot or a small icon. This is a super important visual cue for both you and your attendees, making it clear that the session is being captured. It’s a small thing, but it’s key for transparency.
This screenshot shows you exactly what the recorder controls look like, with the bright red indicator and the options to pause or stop right there.

This little interface is command central for your recording. Those pause and stop buttons are your secret weapons for producing a clean, polished final video without needing a ton of editing later.
Honestly, the ability to pause and resume is one of the most overlooked features. We've all been in meetings that go off on a tangent or take an unscheduled break. Instead of capturing all that dead air or off-topic chatter, just hit pause.
Here's how I use it all the time:
- Start Recording: I kick off the main presentation and start the recording.
- Pause for a Break: When the team decides to take a five-minute coffee break, I click the Pause button. The red indicator changes, showing it's paused.
- Resume Seamlessly: Once everyone is back and settled, I just click Resume. The recording picks up right where it left off, making the final video much tighter.
It’s a simple move that saves me a ton of editing headaches down the road.
Stopping the Recording and What Happens Next
When the meeting wraps up, all you have to do is click the Stop button. Webex will show a confirmation pop-up, which is great for preventing you from accidentally stopping it mid-session. Once you confirm, the recording process is officially over.
So what happens next? It depends on where you chose to save it.
If you recorded locally, Webex will start converting the file right away and save it to your computer as an MP4.
If you picked the cloud option, the recording gets processed on Webex's servers. You'll get an email with a link as soon as it's ready to watch, share, or download. This usually takes anywhere from a few minutes to an hour, mostly depending on how long your meeting was.
Customizing Your Recording Layout and Settings
Going beyond the default recording options is what separates a decent recording from a truly professional one. The layout you choose can dramatically change how your audience engages with the content, so it's worth thinking about what best fits the purpose of your meeting.
A lively team brainstorm or a panel discussion, for example, really comes to life in Grid view. This layout shows everyone on camera at once, capturing that collaborative energy. It makes the viewer feel like they're right there in the room with the team.
Choosing the Best View for Your Content
On the other hand, if you're running a training session or a product demo, the Active Speaker and Content view is usually the way to go. This view smartly switches focus between the person speaking and whatever they're sharing on their screen, whether it’s a slide deck or a live software walkthrough. It keeps the audience focused on what matters most.
And for those times when the presentation itself is the main event? Go with the Content-only view. I find this is perfect when my slides are packed with important details and I want to remove any potential distractions.
Fine-Tuning Your Recording Settings
Once you've picked a layout, a couple of other settings can make a big difference. I always recommend enabling automatic transcription. This gives you a searchable text version of the entire meeting, which is a lifesaver when you need to find a specific comment or decision later. You can take this a step further by using Webex AI tools to automatically generate summaries and action items from those transcripts.
You can also lock the video on one specific participant. This is a great feature for formal interviews or when you have a main speaker for a long portion of the meeting. Little controls like these are what make your recordings look polished and intentional. It’s this kind of reliability and control that contributes to the high satisfaction rates for Webex, where 95% of users are happy with its recording and collaboration tools. That trust is also why 92% of Webex Calling users are willing to repurchase the service. You can read more about Webex user satisfaction on electroiq.com.
Finding, Sharing, and Managing Your Webex Recordings
So, the meeting's over. What happens now?
If you recorded locally, the MP4 file is already sitting on your computer, ready to go. For cloud recordings, Webex needs a few minutes to process the video. Once it's done, you'll get an email with a direct link. Easy.
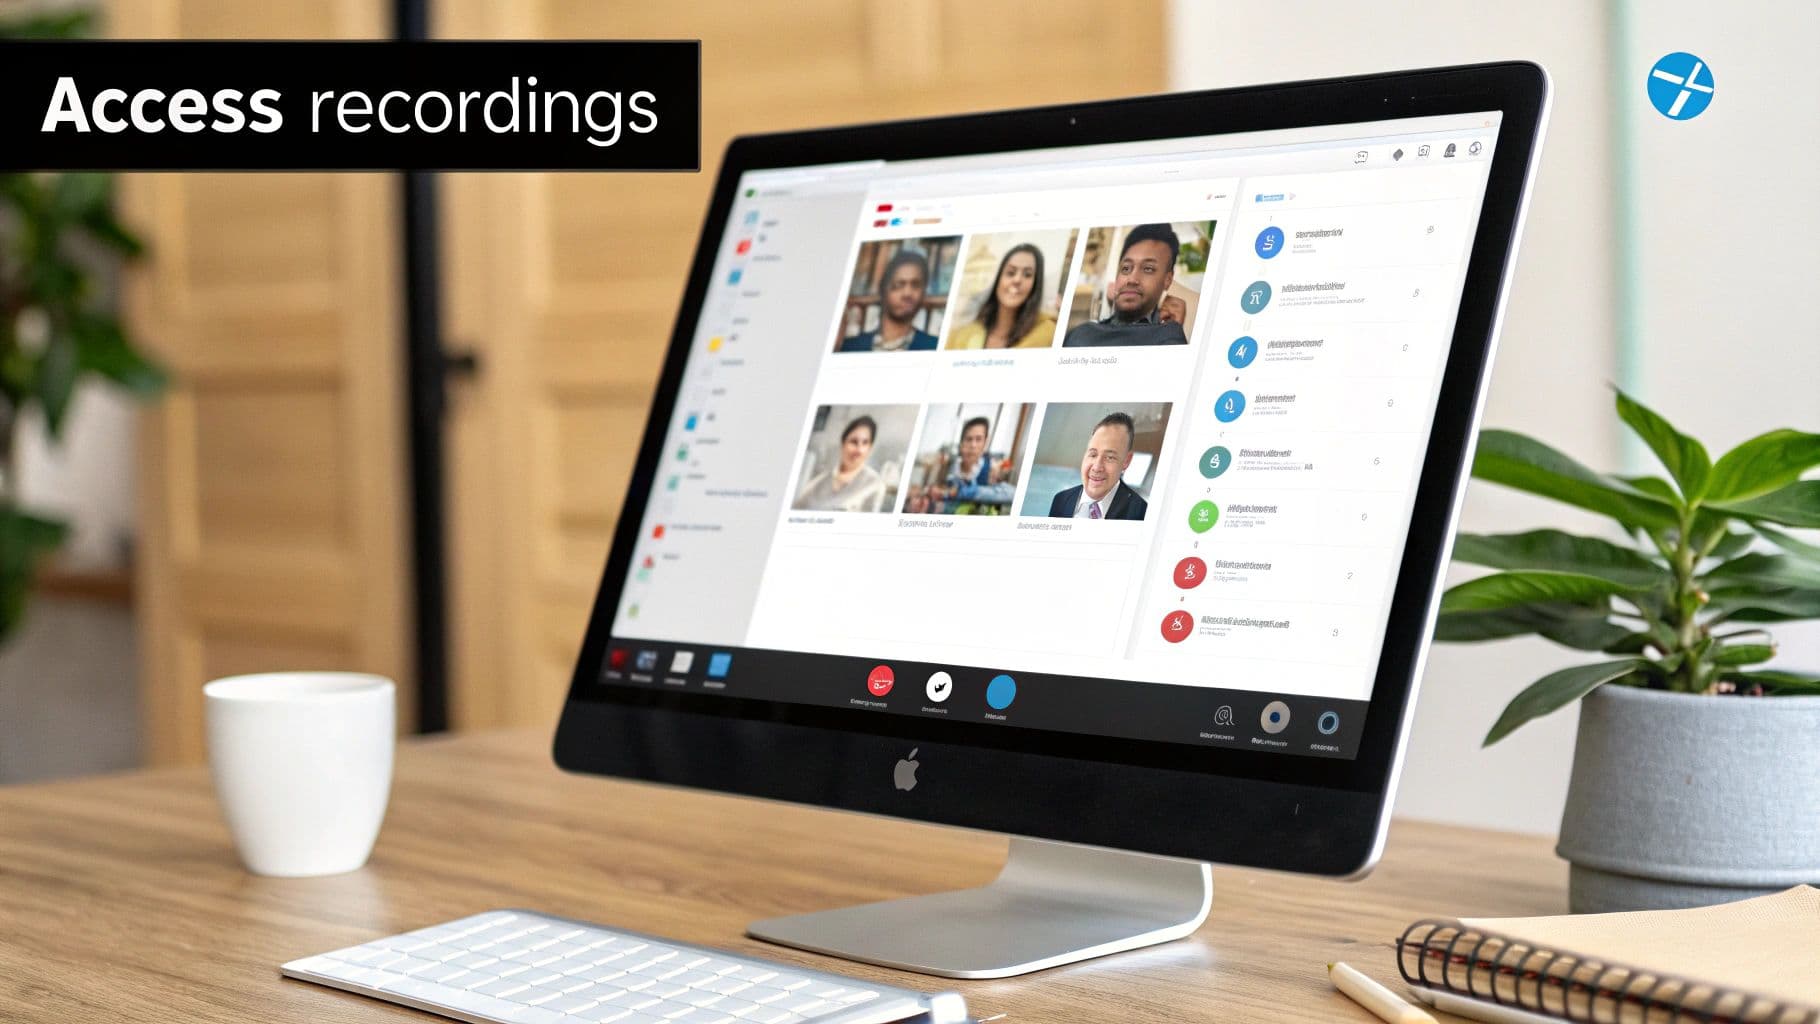
You can also find all your cloud recordings in one place. Just log into your Webex site and head over to the Recordings tab on the left-hand navigation bar. This is your command center for every meeting you've saved.

Sharing and Securing Your Content
Sharing a cloud recording is as simple as grabbing the link and sending it off. But before you hit send, it’s smart to think about who should see it. You can make the link public for anyone to view or lock it down so only signed-in people from your company can access it.
When you're dealing with sensitive information, always add a layer of protection. It only takes a second.
- Password Protection: Slap a password on it. Simple, but effective.
- Download Restrictions: Stop people from downloading the video file to their own devices.
These two controls give you peace of mind, ensuring your recording stays in the right hands. And if you're dealing with a massive recording file, you might want to compress a meeting recording for easier sharing.
Webex recordings can do more than just sit there, too. Site administrators can pull detailed reports to see who's watching what. Plus, the built-in transcription turns your video into a searchable document, which is a lifesaver when you need to find that one key decision without rewatching the whole hour.
If you're looking to really level up your post-meeting workflow, check out our guide on https://summarizemeeting.com/blog/how-to-automatically-summarize-meeting-recordings-in-2025-6-best-methods. It's a game-changer for getting highlights fast.
Common Webex Recording Questions Answered
Even when the steps seem simple, questions always come up. I've been there. To save you from digging through endless support forums, I’ve put together answers to the most common questions I hear about recording Webex meetings.
Think of this as your personal cheat sheet for those little "what if" moments.
Can I Record a Webex Meeting If I'm Not the Host?
The short answer is no. Recording in Webex is a permission-based feature, so only the host or a co-host will see the "Record" button.
If you need to capture a session, you'll have to ask the host directly. They can either start the recording for everyone or make you a co-host so you can control it yourself.
Where Do My Webex Recordings Go?
This all comes down to the choice you made when you first hit record. You've got two main destinations:
- Cloud Recordings: These live on your Webex site. Just log in, head to the "Recordings" tab, and you'll find them waiting for you. This is usually the easiest option.
- Local Recordings: If you choose to save locally, Webex will create an MP4 file right on your computer. It typically lands in a dedicated Webex folder inside your "Documents."
How Long Until My Cloud Recording Is Ready?
Patience is key here, but you usually won't have to wait long. Processing times for cloud recordings can vary a bit. A quick 30-minute huddle might be ready in just a few minutes. A two-hour deep-dive session will naturally take longer.
Either way, you don't have to keep checking. Webex will send you an email with a link the second it’s done processing and ready to watch.
Does Webex Record Breakout Sessions?
This is a big one that catches a lot of people off guard. The main meeting recording does not capture what happens inside breakout sessions. When you start breakouts, the main recording automatically pauses and then resumes once everyone returns.
If you need to record what’s happening in a specific breakout room, a host or co-host must physically join that breakout and start a new, separate recording from within it.
And if you want to go from a Webex beginner to a pro, you should check out these comprehensive Webex tips and tricks to really master the platform.
Ready to choose the perfect AI tool for summarizing your Webex recordings? Explore Summarize Meeting for a detailed comparison of over 20 top-rated solutions to find the best fit for your team's needs and budget. Visit https://summarizemeeting.com to get started.


